Windows 8.1 Proxy Setup Guide: Step-by-Step Proxy Configuration
The new settings method in Windows 8.1 can be done this easily. Let’s see how it works.
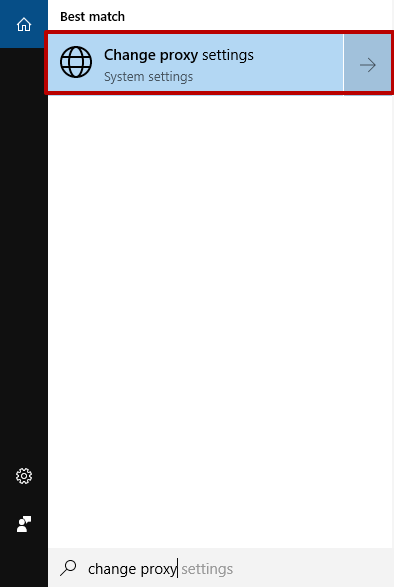
1. Press the Win + S keys on your keyboard at the same time. This will open the system search box.
2. Type "change proxy" in the search box. The system will find the "Change Network/Proxy settings" option for you. Go ahead and click this button.
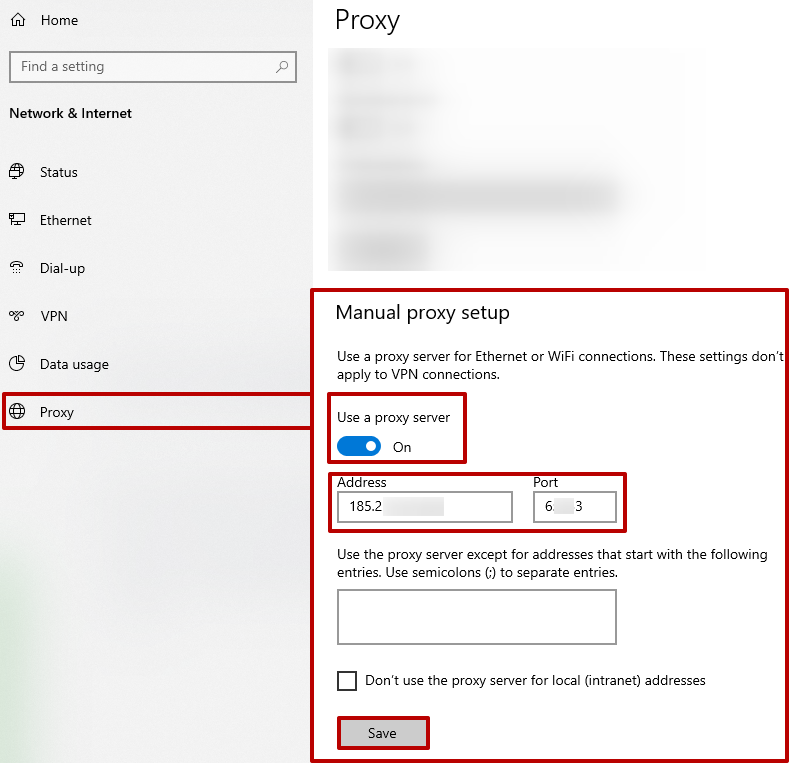
3. In the new window, check "Manual proxy setup" → "Use a proxy server".
4. Fill in the fields with your purchased proxy server details: IP address and port. We will get one from our proxy servers. Then click the "Save" button.
Configuration is now complete. From this point on, the operating system will start using the proxy.
If you need to disable the proxy on Windows 8.1, you should also follow a step-by-step guide. This may be necessary due to several reasons that can significantly slow down a specific browser or the whole operating system. After eliminating these issues, you may want to reconnect the proxy server.
Disabling proxies on Windows 8.1
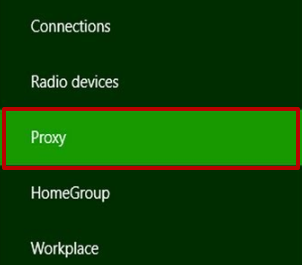
1. Go to the "Network" window and select the "Proxy" category:
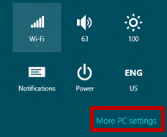
2. Open the sidebar on your desktop (Win + C), and find the "Settings" icon:

3. In the next window, choose "Change PC settings":
4. Then go to the "Network" section, select the "Proxy" tab, and click the switch to disable the proxy feature.
No matter what decision you make about using proxies on Windows 8.1, remember that a proxy server allows you to stay online and access sites that may have been previously blocked.