IGAssistant Proxy Setup Guide: Step-by-Step Proxy Configuration
IGAssistant Proxy Setup Guide: Step-by-Step Proxy Configuration

IntagramAssistant (IGAssistant) is one of the most powerful bots for Instagram and TikTok. This online SMM panel can help you gain likes and followers, automatically send direct messages, target users, comment on popular posts, and schedule posts—all across hundreds of accounts at once.
For details on why you should use a proxy for Instagram, check out our article on proxy usage for Instagram.
Step-by-Step Proxy Setup for IGAssistant
- Log in to your personal IGAssistant account.
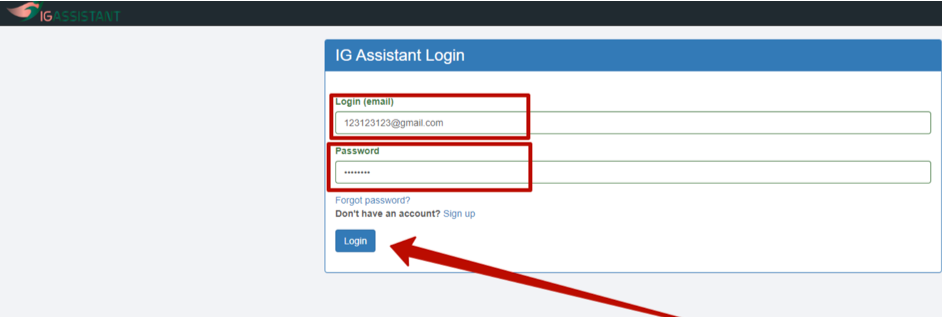
- After logging in, an automatic pop-up will appear for connecting an Instagram or TikTok account. Click on "ADD ACCOUNT".
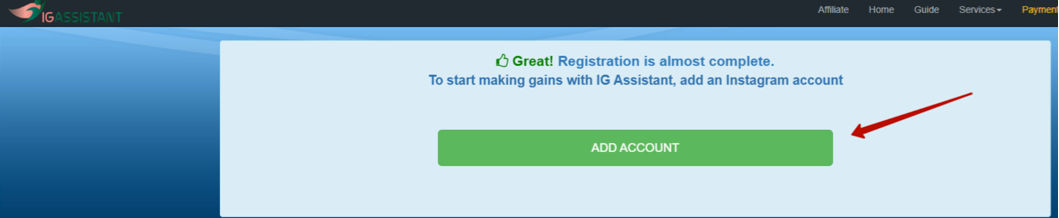
- Choose your preferred login method. In this example, we’ll select Instagram.
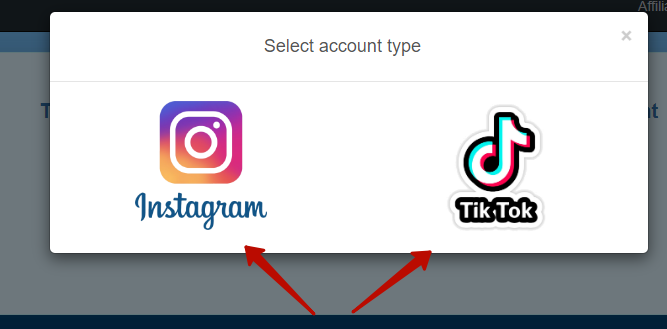
- Follow the prompts and click "NEXT".
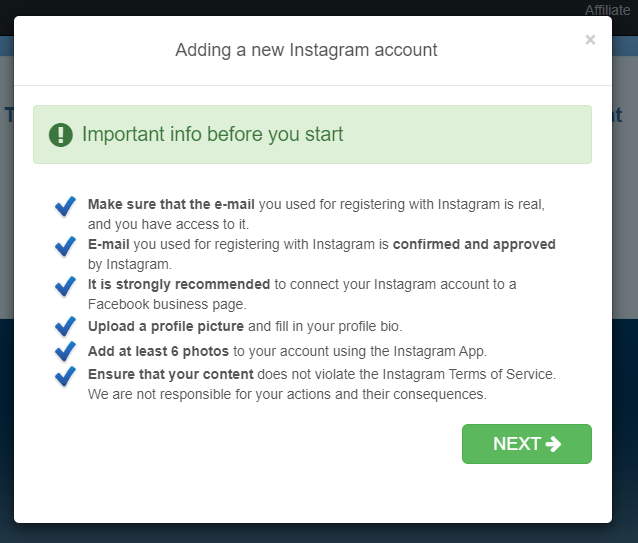
- Fill in the required fields: Instagram username, password, and account country. (If you registered this account using, for example, a US proxy server, select United States and ensure you connect the same proxy for this account.) Check "Use proxy for this account".
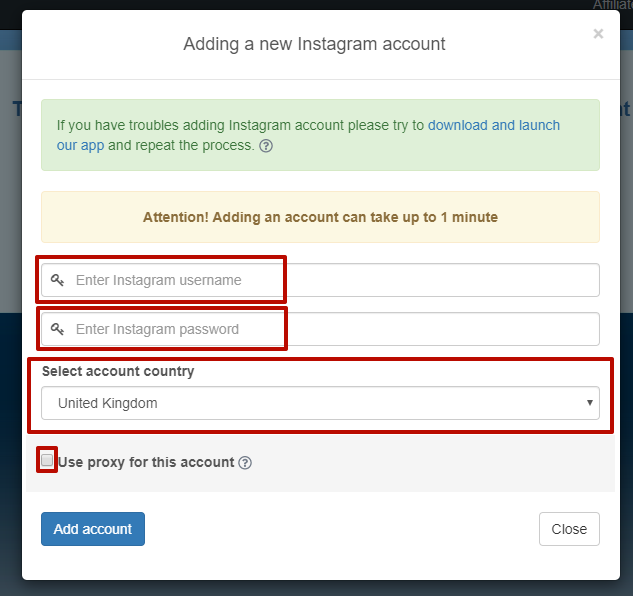
- Now, enter your proxy server details. We highly recommend using only premium/elite proxy servers. The "Proxy host" field should be the IP address (like 123.123.123.123), "Proxy port" is your port number, then choose either SOCKSv5 or HTTP from the dropdown. Enter your proxy username and password, which are provided in your proxy order confirmation. If you purchased your proxy from Proxy-Seller, use those details. Click "Test proxy" to check if your proxy works.
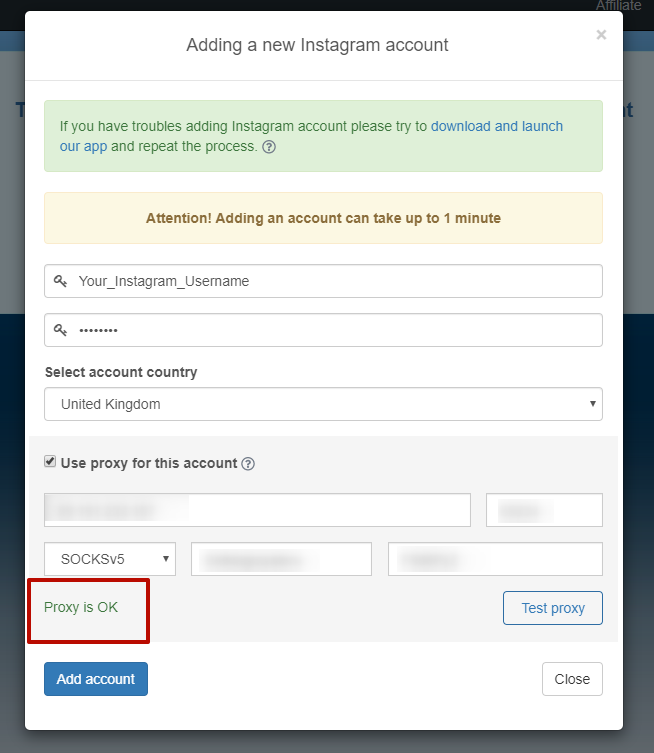
- After testing, you should see the message "Proxy is OK".
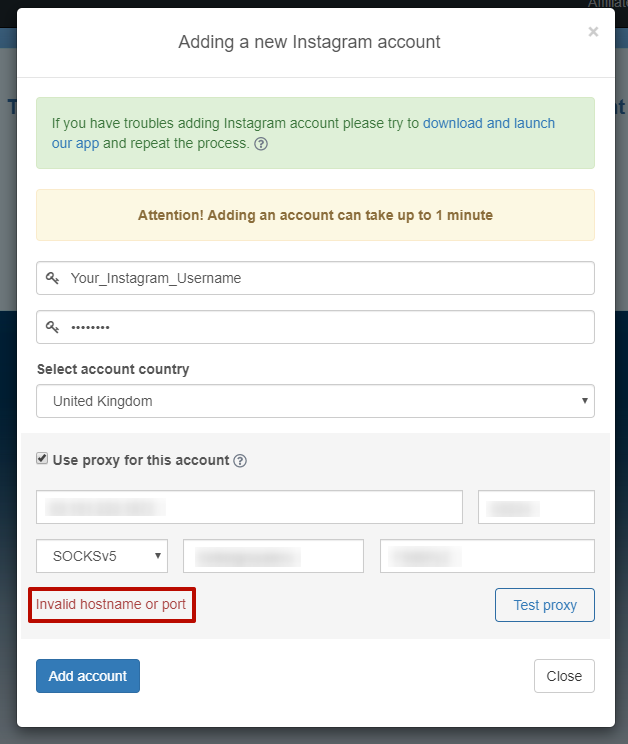
- If you see a message like "Invalid host name or port", double-check your proxy details to ensure everything is correct.
- If all is well, click "Add account".
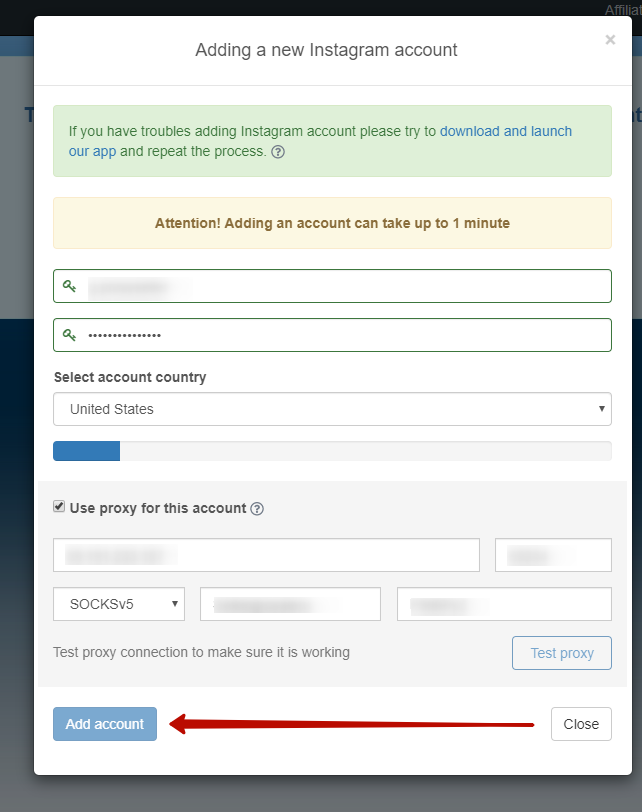
That’s it! Your configuration is now complete, and the account is assigned to your proxy server. The same setup applies for any additional accounts you want to automate in IGAssistant.

Windows 7 Proxy Setup Guide: Step-by-Step Proxy Configuration
Windows 7 Proxy Setup Guide: Step-by-Step Proxy Configuration
Windows 8.1 Proxy Setup Guide: Step-by-Step Proxy Configuration
Windows 8.1 Proxy Setup Guide: Step-by-Step Proxy Configuration
Windows 10 Proxy Setup Guide: Step-by-Step Proxy Configuration
Windows 10 Proxy Setup Guide: Step-by-Step Proxy Configuration